Introduction: Starting a Website Without Feeling Overwhelmed
For beginners, choosing web hosting can feel confusing. Terms like bandwidth, uptime, and SSL certificates often sound technical, and the fear of making the wrong choice can delay launching a website altogether.
The good news? You don’t need to be an expert to choose the right hosting. With a clear approach, you can find an affordable plan that fits your needs and grows with you.
This guide is designed specifically for beginners who want cheap hosting that actually works, without wasting money or time.
Step 1: Define Your Website Goal First (Not Your Budget)
Most beginners start with price—but that’s a mistake.
Instead, ask yourself:
- Are you starting a blog?
- Building a portfolio?
- Launching a small business website?
- Testing an idea?
Why This Matters
Your goal determines:
- Storage needs
- Traffic expectations
- Required features
For example:
- A blog can run smoothly on basic shared hosting
- An online store needs better performance and security
Step 2: Understand the Easiest Hosting Type for Beginners
Shared Hosting (Best Starting Point)
If you’re new, shared hosting is almost always the right choice.
Why it works:
- Low cost
- Simple setup
- No technical maintenance
When NOT to Choose Shared Hosting
Avoid it if:
- You expect heavy traffic immediately
- You’re running complex applications
Step 3: Features Beginners Should NEVER Compromise On
Many cheap plans look attractive but lack essential features.
Must-Have Features
1. Free SSL Certificate
Ensures your website is secure and trusted.
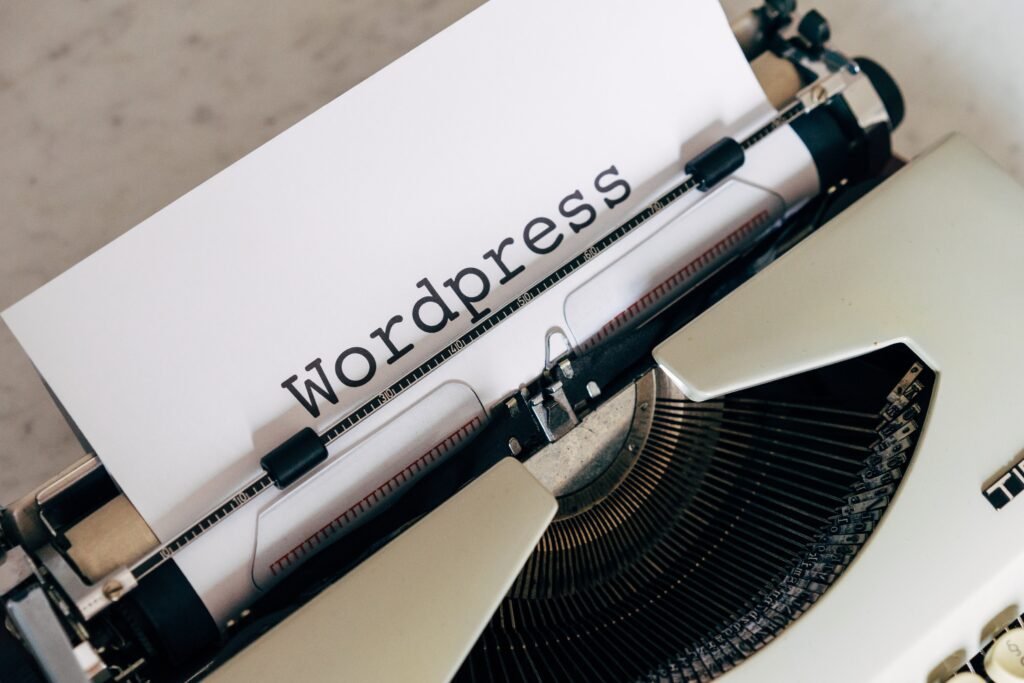
2. One-Click Installer
Allows you to install platforms like WordPress instantly.
3. 99.9% Uptime Guarantee
Keeps your website online consistently.
4. Customer Support (24/7)
Critical when you get stuck.
5. Easy Control Panel
A user-friendly dashboard saves hours of frustration.
Step 4: Real Example Comparison (Beginner-Friendly Plans)
Here’s a realistic comparison focused on beginners:
| Feature | Starter Host A | Beginner Cloud B | Easy WP Host C |
|---|---|---|---|
| Monthly Price | $2.99 | $5.50 | $6.99 |
| Ease of Use | Very Easy | Moderate | Very Easy |
| Free Domain | Yes | No | Yes |
| Setup Time | 5 minutes | 15 minutes | 3 minutes |
| Customer Support | 24/7 Chat | Ticket Only | 24/7 Priority |
| Best For | Blogs | Growing sites | WordPress users |
Step 5: Beginner Mistakes That Cost Money
Choosing the Longest Plan Without Testing
Many hosts offer discounts for 3-year plans.
Risk:
You’re locked in—even if performance is poor.
Ignoring Renewal Prices
Beginners often overlook this.
Tip:
Always check what you’ll pay after the first year.
Installing Too Many Plugins
This slows down your site and affects performance—especially on cheap hosting.
Pros and Cons of Cheap Hosting for Beginners
Pros
1. Low Risk Investment
You can start a website for under $50/year.
2. Easy Setup
Most providers offer guided onboarding.
3. All-in-One Packages
Domain, SSL, and hosting bundled together.
Cons
1. Limited Performance
Shared resources can slow down your site.
2. Basic Support Quality
Not all providers offer expert-level help.
3. Upselling Pressure
You’ll be encouraged to buy add-ons.
Case Study: A Student Blog That Grew Into a Brand
Background
A university student started a blog to share study tips and personal experiences.
Budget: $30/year
Initial Setup
- Chose basic shared hosting
- Installed WordPress using one-click installer
- Used a free theme
Growth Phase (6 Months Later)
- Traffic increased to 20,000 visitors/month
- Pages started loading slowly
- Occasional downtime during peak hours
Upgrade Decision
The student upgraded to a slightly better plan within the same provider.
Results
- Page speed improved by 50%
- Bounce rate decreased
- Blog started generating ad revenue
Key Insight
Starting cheap is smart—but upgrading at the right time is crucial.
Step-by-Step: How to Choose the Right Cheap Hosting
Step 1: Shortlist 3 Providers
Don’t choose the first option you see. Compare at least three.
Step 2: Check Real Reviews
Look for:
- Performance feedback
- Customer support experiences
- Long-term user opinions
Step 3: Test Customer Support
Ask a question before buying.
Why?
It shows how responsive they are.
Step 4: Start with a 1-Year Plan
Avoid long commitments until you’re confident.
Step 5: Monitor Performance
After launching:
- Track speed
- Monitor uptime
- Evaluate user experience
Beginner-Friendly Optimization Tips
Use Lightweight Themes
Heavy designs slow down your site.
Compress Images
Smaller images = faster loading.
Enable Caching
Most hosts provide built-in caching tools.
Limit Plugins
Stick to essential tools only.
When Should Beginners Upgrade?
Upgrade your hosting when:
- Your traffic exceeds 25,000 visitors/month
- Your site loads slowly
- You experience frequent downtime
Smart Budget Allocation Strategy
Instead of spending everything on hosting:
- Keep hosting cheap initially
- Invest in content and design
- Upgrade only when needed
Final Thoughts
Choosing cheap hosting as a beginner doesn’t have to be risky or confusing. With the right approach, you can launch a fast, reliable website without overspending.
The key is to focus on value, simplicity, and scalability—not just price.
Start small, learn as you go, and upgrade when your website demands it. That’s the smartest path for any beginner entering the online world.